Use the following tutorial to support the instructions in your Riva Pattern booklet.
The collar instructions begin on page 34. This tutorial will begin by sewing the plackets to the sleeve as per the instructions on page 35. We will start by working on the Wrong Side of the sleeve pieces.
____________________
Transfer your pattern markings to the Wrong Side (WS) of the sleeves, using an erasable fabric marker or chalk.
Note: I have cut my fabrics in different colors to make them easier to see in this tutorial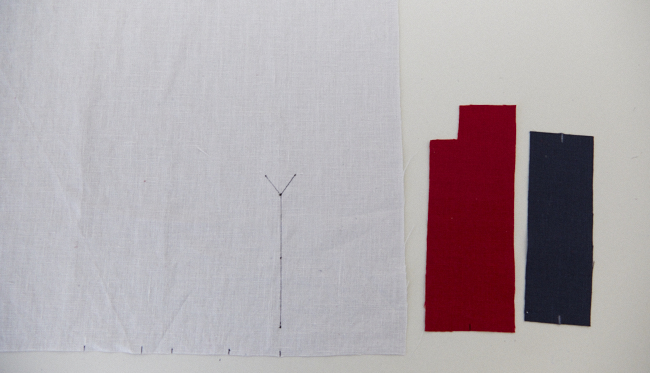
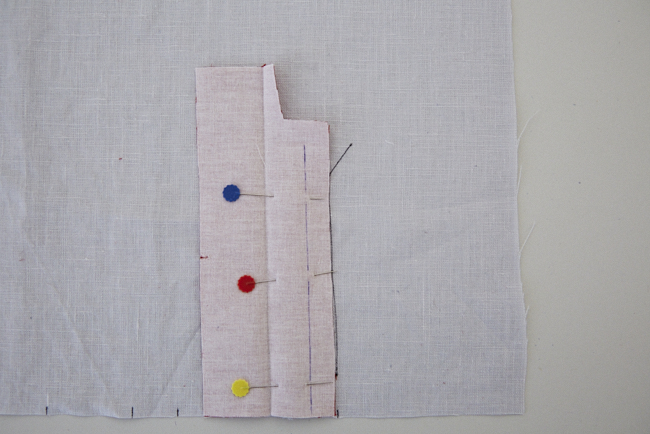
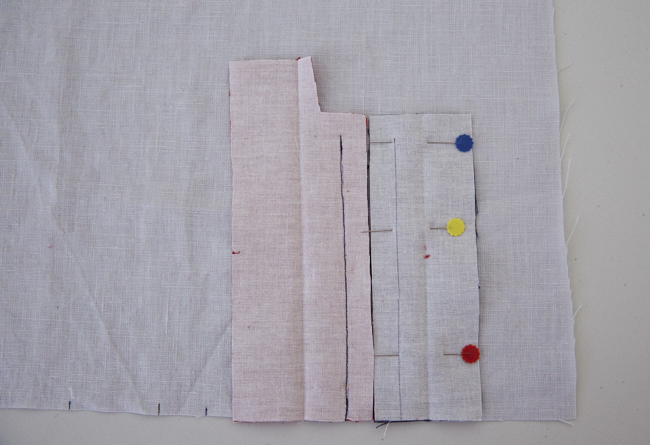
Line up the edge of your placket pieces along the pattern line you have just made that looks like a Y. You will have your sleeve WS up, and the plackets with the Insterfaced wrong side facing up. Sew 1/2" from the pattern marking, stopping 1/2" from the top of your placket pieces as shown.
It is very important you are sewing 1/2" from this line in order for your plackets to line up later on.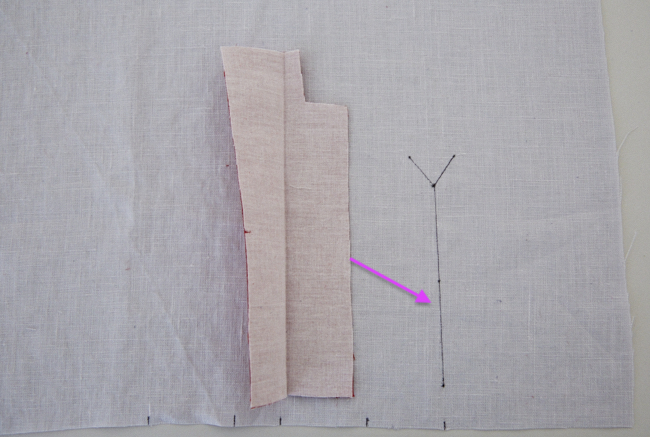
Cut the sleeve slit by cutting along the markings you made on the sleeve fabric 'Y' line. Do not cut your placket fabrics.
Press your placket pieces according to the instructions in your booklet.
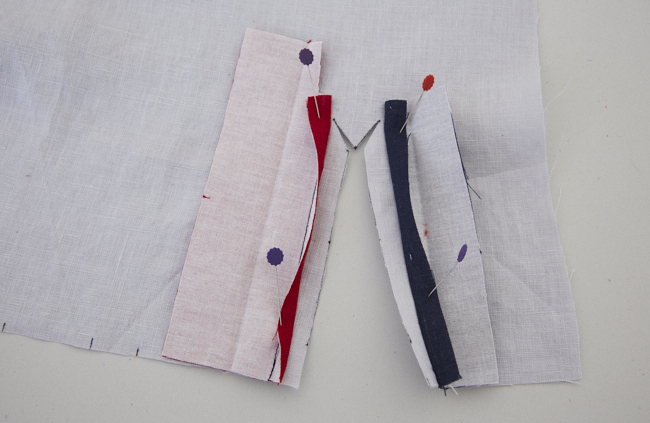
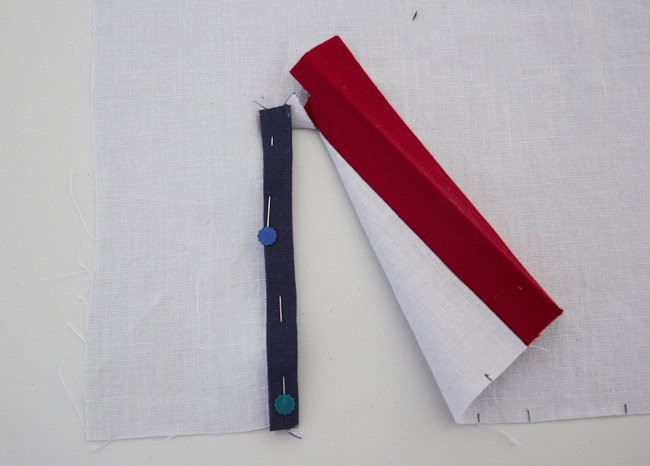
Now, pull those placket pieces through the slit you cut to the RS of the sleeve.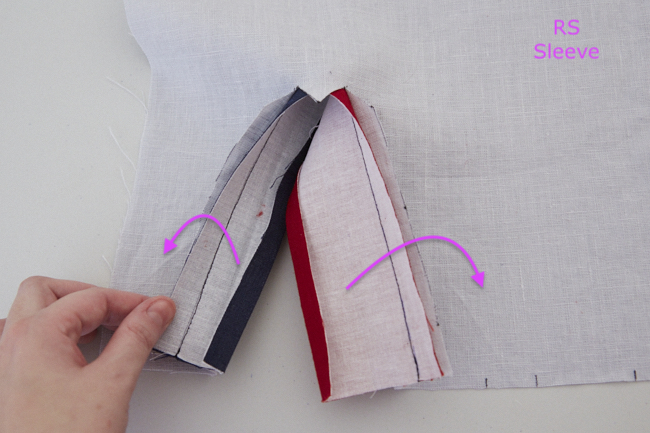
Press your slit seam allowances toward the plackets as indicated by the arrows.
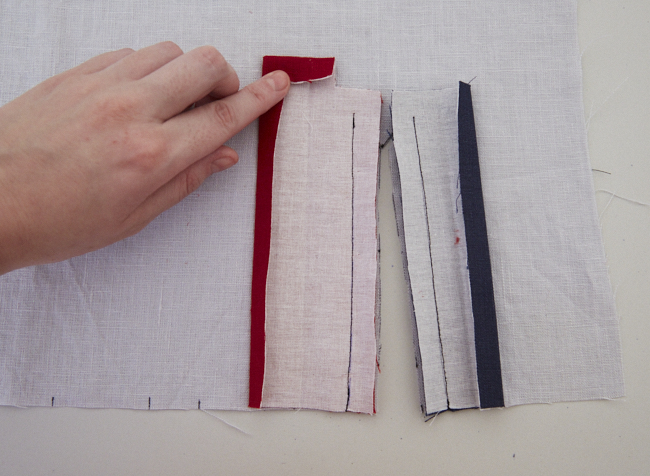
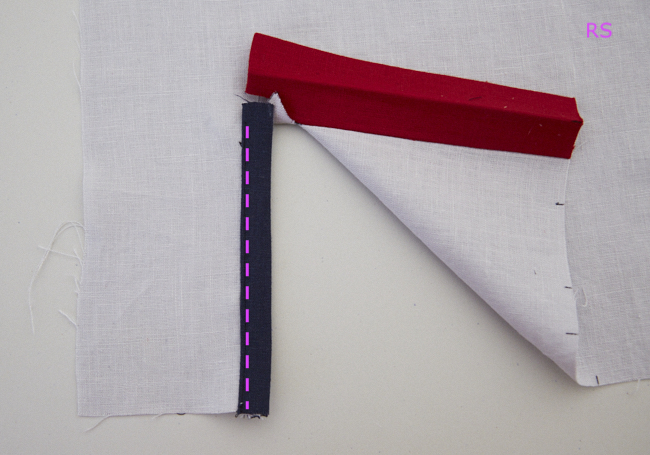
Then fold and press placket piece I by folding over the seam allowance you just pressed over in the previous step. Pin in place, and topstitch stopping 1/2 from the top edge as shown in your illustrated instruction booklet, and illustrated in pink on the image below.
Note: keep the triangle piece of the sleeve you cut earlier folded up.
Topstitch line shown in pink, note stitching stops 1/2" from the edge of the placket piece.
Secure the triangular tab and opening at the top of your sleeve placket as follows:
- lay piece J (in red) over piece I (blue) with the triangular tab facing up. Line up the edge of piece I with the fold on piece J.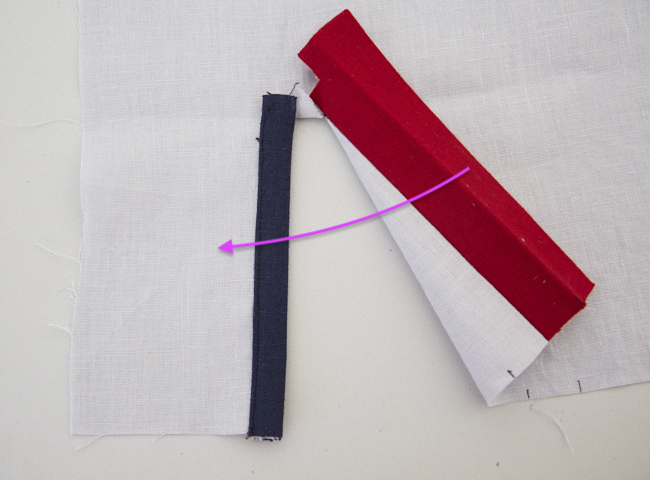
When I fold away the top you can see the tab and piece I.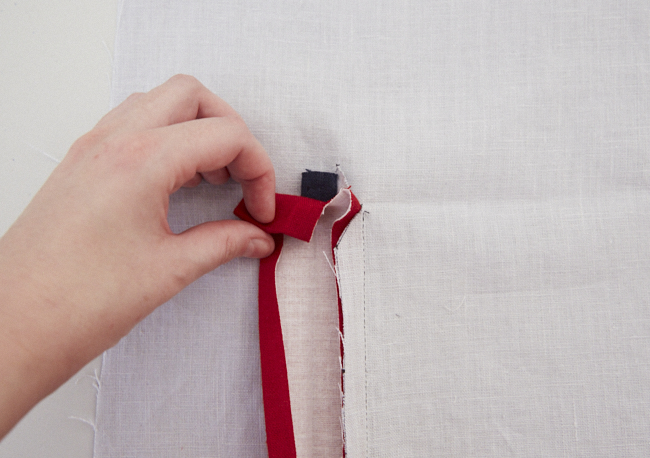
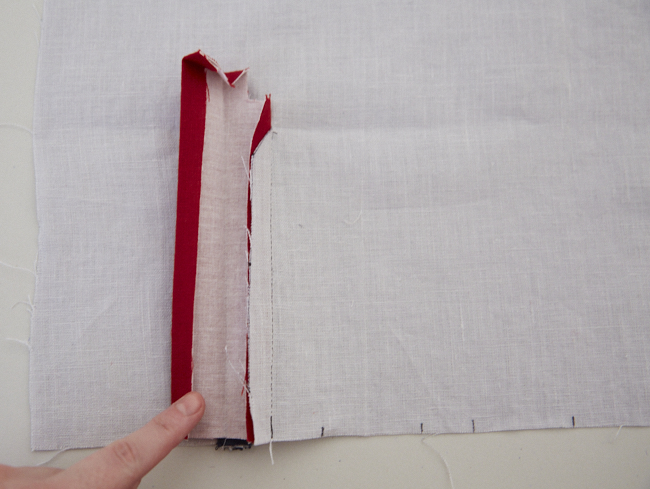
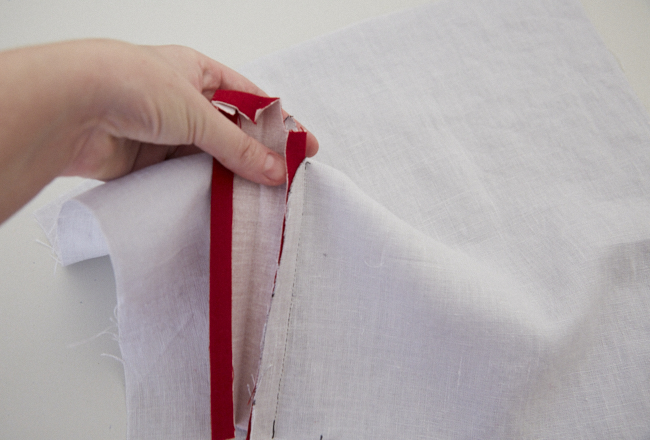
Holding onto the plackets and tab only, fold under the top half of your sleeve:
(your sleeve piece will be folded in half, WS together, at the top of the placket, exposing the triangle tab and top of your placket pieces.)

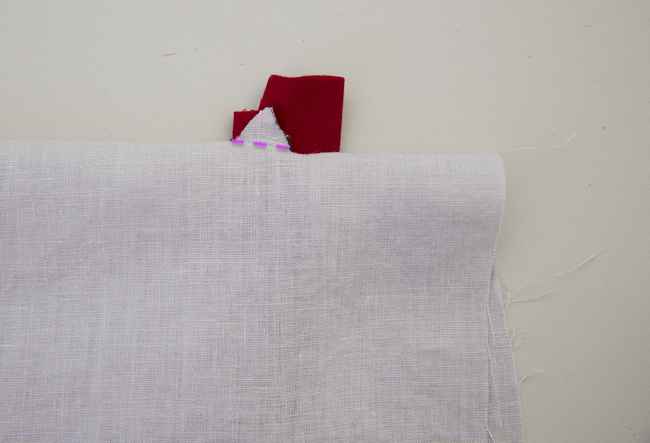
Flip over your folded piece to show the tab and top of your plackets:
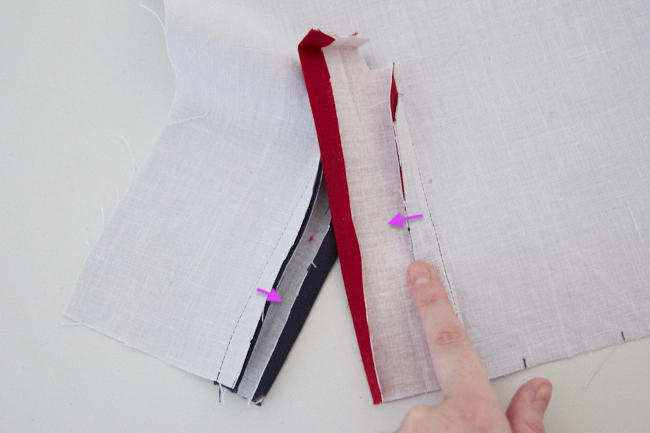
Making sure your plackets are aligned, stitch across the triangular tab, through your placket layers. (shown in pink for clarity)
View from the right side:
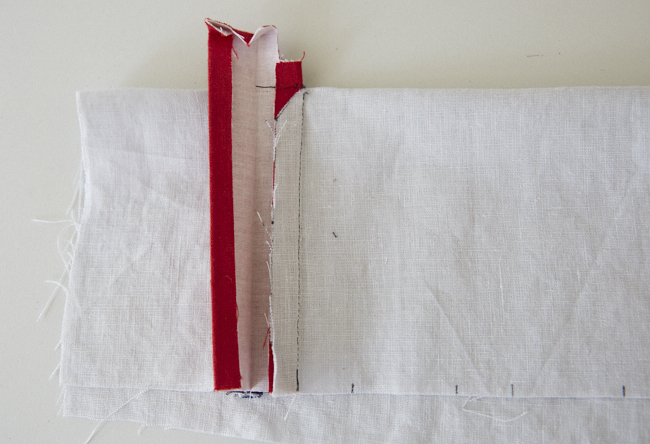
Open out your sleeve piece and fold over your red placket (J) along the previously pressed lines, covering the previously sewn tab.
Pin in place and topstitch as shown on your instruction booklet.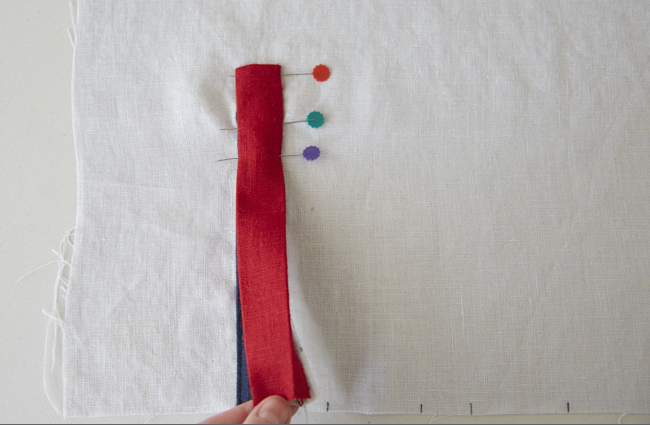
Continue following the illustrated instructions to finish your sleeve and cuff :)
Comments
0 comments
Please sign in to leave a comment.